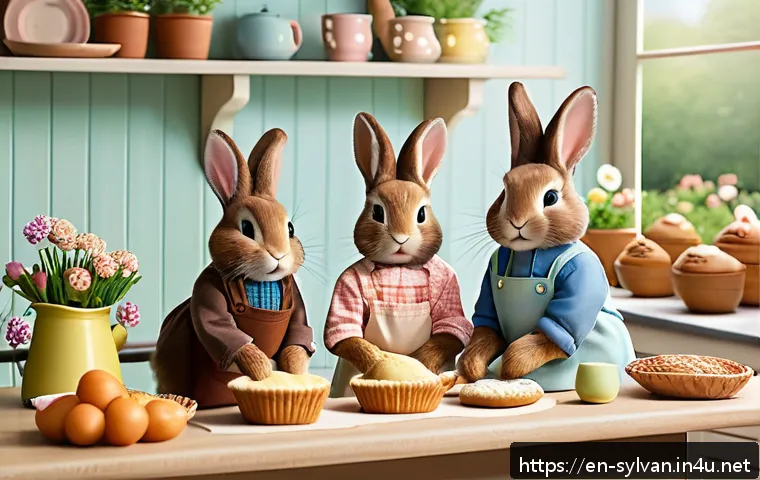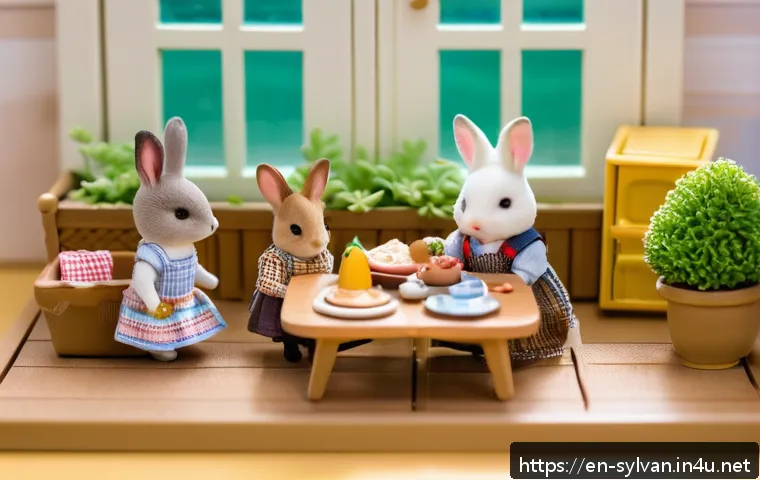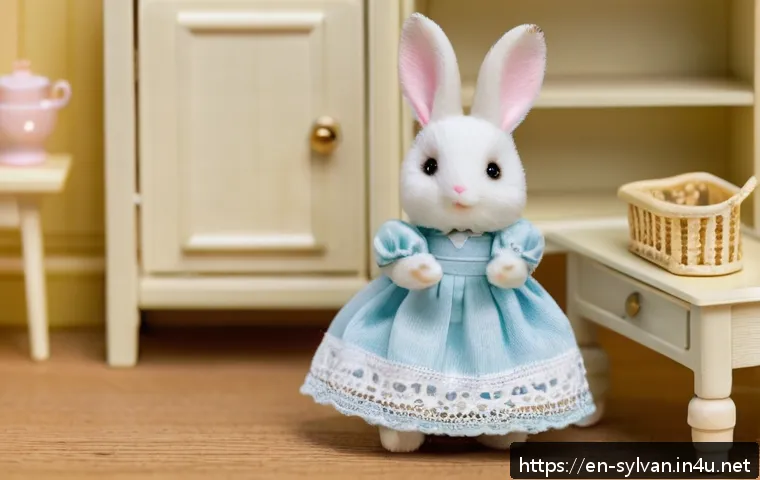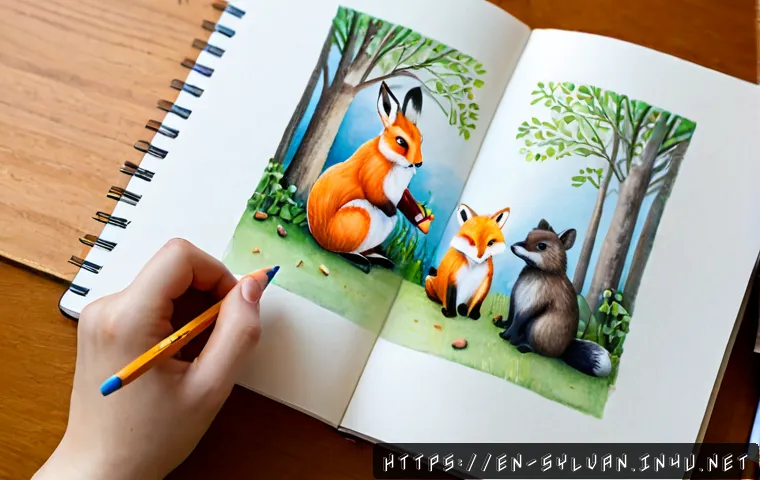
The fastest beginner workflow is a pencil thumbnail, a simple clean outline, and a limited soft color palette. Colored pencils and a basic sketchbook are enough for a charming result, while a tablet and illustration software make revisions, color changes, and polished files easier.
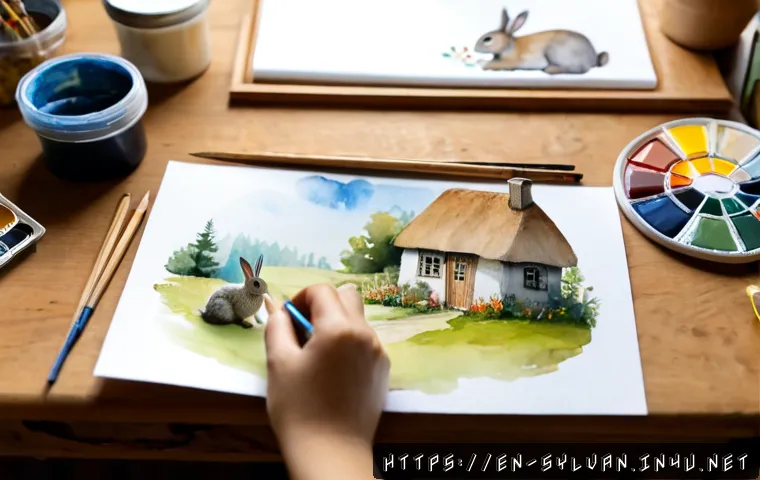
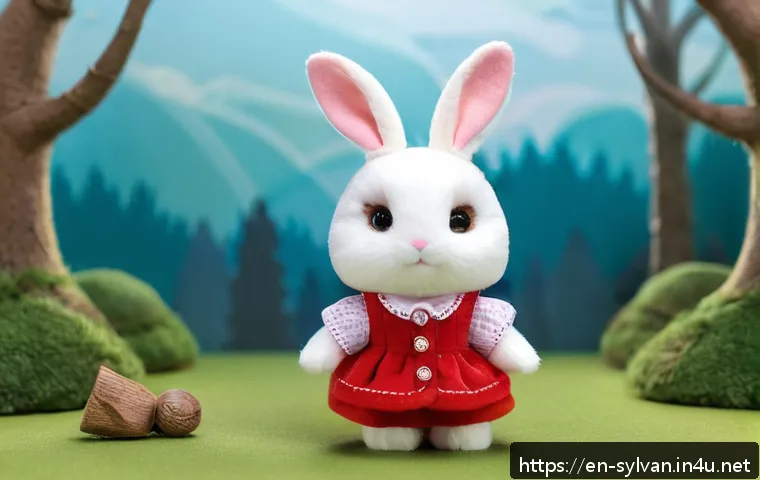
The goal is not to duplicate a toy photo, but to capture a gentle plush-animal feeling through rounded shapes, small features, layered clothing, and a calm pose.
Choose traditional supplies if you enjoy tactile practice and portability. Choose digital art tools if you expect to edit often or build more detailed scenes.
Before sharing or selling, review the relevant platform and intellectual-property requirements.
At a Glance
- Fastest beginner workflow: thumbnail in pencil, refine one clean outline, then add a few soft colors.
- Best low-cost option: a basic sketchbook, pencil, eraser, fineliner, and colored pencils.
- Best choice for easy edits: a compatible drawing tablet, stylus, and illustration software with layers.
| Drawing setup | Best for | Learning curve | Editing flexibility | Portability |
|---|---|---|---|---|
| Pencil and paper | Practice, loose sketches, and tactile color work | Low | Limited once color is applied | High |
| Entry-level drawing tablet | Clean line art and repeated revisions | Moderate | High with layers and undo tools | Depends on the device |
| Illustration software | Color variations, detailed scenes, and print-ready files | Varies by interface | High | Depends on the device and software |
Start With a Soft, Storybook Character Plan
The most useful starting point is a simple silhouette, not a detailed face. Think in large, soft shapes: a rounded head, a compact body, short limbs, and ears that help the character read clearly from a distance. This approach creates a plush-like mood without requiring you to copy a specific product image.
The Quickest Way to Sketch a Recognizable Plush-Animal Silhouette
Begin with one large oval or circle for the head and a smaller rounded shape underneath for the body. Add ears as clear outer shapes before drawing eyes or clothing. Keep the pose gentle: standing with paws together, holding a small object, sitting near a basket, or looking toward a garden detail. If the silhouette works as a tiny thumbnail, the finished drawing will usually feel more readable.
A Simple Top-Three Checklist: Head Shape, Eyes, Ears, and Outfit
First, keep the head visually dominant. Second, use small, simply placed eyes, a tiny nose, and a restrained muzzle rather than realistic facial anatomy. Third, make ears and clothing easy to identify at a glance. A dress, cardigan, apron, collar, or small accessory can suggest personality, but the outfit should support the character rather than hide its body shape.
Build an Original Pose and Setting Instead of Copying a Product Image
Use lawful references to study general ideas such as softness, outfit layering, and cozy color relationships. Then change the pose, setting, props, viewpoint, and story. For example, create a character arranging flowers at a window, carrying a picnic cloth, or reading beside a homemade bookshelf. Avoid tracing product photography or reproducing another artist’s composition. An original scene gives your fan art a clearer personal voice.
Choose a Drawing Setup That Matches Your Budget and Workflow
Your best setup depends on how often you revise, where you draw, and whether you want a physical original or a flexible digital file. A costly setup is not automatically better for cute character drawing. Comfort with the tools matters more than a long supply list.
Traditional Supplies: Sketchbook, Pencils, Ink, and Colored Pencils
A sketchbook and pencil are enough to learn proportions and expressions. Add an eraser for adjustments, a fineliner if you enjoy defined outlines, and colored pencils for controlled soft color. Traditional work is especially useful when you want a relaxed practice routine or a one-of-a-kind postcard-style illustration. Test your paper with the media you plan to use, since very thin paper may not suit repeated layering or heavy erasing.
Digital Supplies: Tablet, Stylus, and Illustration Software
A drawing tablet can be worthwhile when you want to move features, try alternate color palettes, or separate clothing, shadows, and background elements onto layers. Look at stylus compatibility, pressure response if that matters to your line style, screen size, portability, and whether the illustration software fits your device. Software plans, one-time purchases, device support, and retailer pricing can vary, so check the current product details before choosing.
Comparison Table: Cost, Learning Curve, Editing Flexibility, and Portability
Paper tools usually have the lowest barrier to starting and work well for quick practice. A tablet introduces a setup period, but can reduce the stress of mistakes because shapes and colors can be revised. Illustration software is most useful when your workflow benefits from layers, selections, reusable brushes, and export options. Do not choose digital tools only because they look professional; choose them when their editing features solve a real workflow problem.
Draw the Character in Five Manageable Layers
Break the illustration into stages so you do not try to solve anatomy, facial expression, clothing, and rendering at the same time. Whether you draw traditionally or digitally, this sequence keeps the image soft and organized.
Block In the Oversized Head and Small Rounded Body
Start with a light center line through the head and a simple body mass underneath. Keep shoulders narrow and limbs short enough that the head remains the visual focus. Check the drawing at a small size. If it still reads as a cozy animal character, you have a strong base.
Place Eyes, Nose, and Muzzle With a Light Center Guide
Use the center guide to keep the face balanced. Place the eyes simply, then add a small nose and a subtle muzzle area. Make small changes one at a time. Moving an eye slightly or reducing the muzzle can have a larger effect than adding more detail.
Add Ears, Paws, Tail, and Simple Clothing Shapes
Next, define the animal type through ear shape, tail placement, and gentle paw forms. Build clothing in broad layers: collar, top layer, skirt or trousers, then one accessory if needed. Let folds follow the body without covering every surface in lines. A clear apron edge or cardigan hem often says more than many tiny decorations.
Refine Fabric Texture, Soft Shading, and Clean Outlines
Use a restrained outline and light texture marks to suggest fabric or fur. Keep shading soft and selective, especially under the chin, around clothing overlaps, and near the feet. Harsh dark shadows can make a cute scene feel dramatic rather than warm. In digital illustration software, place shading on a separate layer so you can adjust it without damaging the base colors.
Avoid Common Fan Art Mistakes
Most problems come from adding complexity before the basic design is clear. A cute character benefits from clarity, restraint, and a readable silhouette.
Making Facial Features Too Detailed or Too Realistic
Detailed eyelashes, realistic noses, strong cheek structure, or highly rendered eyes may conflict with a soft toy-inspired mood. Simplify first. If the face feels blank, adjust spacing and size before adding new facial elements.
Overcrowding the Outfit With Tiny, Hard-to-Read Details
Small buttons, lace, patterns, and accessories can be charming, but too many can make the character hard to read. Pick one focal detail, such as a bow, apron pocket, flower pin, or patterned collar. Keep the rest of the outfit quiet enough to support it.
Using Harsh Shadows That Lose the Gentle Toy-Like Mood
Very dark shading may flatten the colors or create an unintended realistic effect. Use gentle value changes and leave some areas simple. If you work digitally, lower the intensity of a shading layer rather than repainting every area.
Posting or Selling Artwork Without Checking Platform and Intellectual-Property Rules
Rules for publishing, monetizing, or selling recognizable fan art can vary by territory and platform. Review the relevant platform policies and applicable intellectual-property guidance before uploading, offering commissions, or listing products. When in doubt, avoid claims that your work is official and make sure your presentation does not confuse viewers about the source.
Adapt the Illustration for Different Goals
A single character concept can become a quick study, a thoughtful gift, or a more developed portfolio image. Match the amount of detail to the purpose instead of treating every drawing as a full illustration.
Quick Postcard-Style Art for Practice and Sharing
Use one character, a plain or lightly colored background, and one small prop. This format is ideal for practicing head-to-body proportion, clothing shapes, and limited palettes. It also helps you finish more drawings without becoming stuck in background details.
A Detailed Digital Scene With Furniture, Garden, or Bakery Props
For a fuller scene, begin with the character and add only props that reinforce the story. A chair, teacup, garden basket, bakery counter, or window can establish a setting without overcrowding it. Digital layers are useful here because you can revise the background separately from the figure.
A Personal Gift Illustration Versus a Portfolio Piece
A personal gift can prioritize a meaningful color, activity, or handwritten note. A portfolio piece should show your own decisions more clearly through composition, original props, and a consistent finish. In either case, keep the character pose and scene your own rather than recreating an existing image.
Selection Criteria and Comparison Summary
Choose paper tools if you want a low upfront commitment, tactile practice, and easy portability. Choose a tablet and stylus if you expect frequent revisions, alternate colors, layered backgrounds, or digital delivery. Check whether the illustration software supports the file types and workflow you need. Compare compatible styluses before selecting a tablet, and check whether the software fits your workflow before committing to a plan or purchase. Finally, review your silhouette, color clarity, originality, and intended usage before sharing.
In Closing
Soft proportions and simple choices are the foundation of appealing Sylvanian Families-inspired fan art. Start with a rounded silhouette, keep facial features small, and let one outfit detail or prop carry the story. A sketchbook can take you far, while digital tools become useful when editing and layered scenes matter. Make the final illustration feel like your own through an original pose, setting, and composition.
Useful Things to Know
Use thumbnails first: small sketches reveal proportion problems quickly.
Limit the palette: a few calm colors are easier to control than many competing shades.
Save versions digitally: keep a clean line-art file before adding colors and effects.
Practice clothing separately: small outfit studies can improve full character drawings faster.
Important Notes
Exact character proportions, colors, clothing details, and usage rules should not be assumed. Check your own lawful references for visual study, and review current platform and intellectual-property requirements before posting, monetizing, or selling recognizable fan art. Tool pricing, subscription terms, and device compatibility can also change by region, retailer, and time.
Frequently Asked Questions
Q1. What is the easiest way to make a Sylvanian Families-inspired character look cute?
A1. Begin with an oversized rounded head, a small body, simple eyes, a tiny nose, and clear ears. Keep the pose calm and add one readable clothing detail or prop instead of many small decorations.
Q2. Do I need a drawing tablet to create polished fan art, or are colored pencils enough?
A2. Colored pencils are enough for polished work if you build clean shapes and use controlled layers of color. A drawing tablet is mainly helpful when you want easier revisions, color variations, separate layers, or a digital file for sharing.
Q3. Is it safe to post or sell fan art of recognizable toy characters online?
A3. Requirements can vary by territory, rights holder, and platform. Check the current rules for the platform you use and the applicable intellectual-property guidance before posting, monetizing, or selling the artwork.